

Running Facebook ads is not easy; you will encounter numerous issues that need to be addressed to ensure the campaign runs smoothly. One of the common difficulties is how to log in via Facebook securely and effectively. Continuing our series of articles aimed at helping you solve advertising-related problems, in this post, we will provide a detailed guide on how to log in correctly, avoid checkpoints, and optimize your ad account
What is Log VIA? Why do you need to change VIA Facebook information after purchasing?
Logging into VIA Facebook is the process of accessing an account via a VIA to use for personal purposes, running ads, or other business activities on Facebook. When purchasing a VIA, users need to log into the account to check its status, stability, and perform necessary security steps.
However, simply logging in does not mean you can use it safely right away. Changing the VIA Facebook information after purchasing is extremely important. The main reason is that many unreliable sellers may reclaim the account after a period of time (taking back control) to exploit resources such as fanpages, ad accounts, or even resell the account to someone else.
You need to change the VIA information immediately after purchasing the account
Additionally, the previous owner of the VIA may still use the old login information to access the account. Therefore, if the login information such as password, email, and phone number is not changed, the buyer may lose control of the VIA at any time.
Detailed guide on how to change VIA Facebook information quickly
Step 1: Check email change history
Before proceeding to change the information, you need to check the email change history of the account. Access the following link: https://www.facebook.com/settings?tab=security.
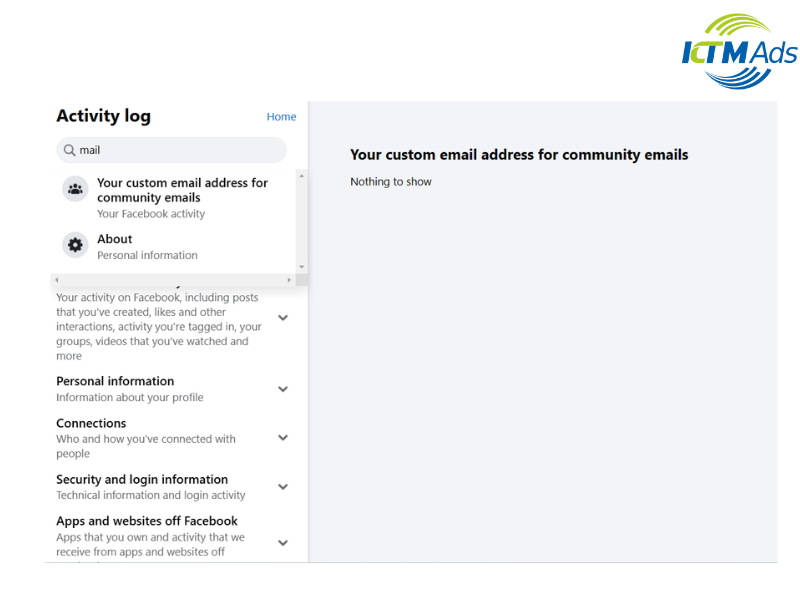
Here, check how many times the account has changed emails and how many emails have been added previously. This helps you avoid the risk of the previous owner backing up (restoring) the account using the old email
Step 2: Change password and recovery email
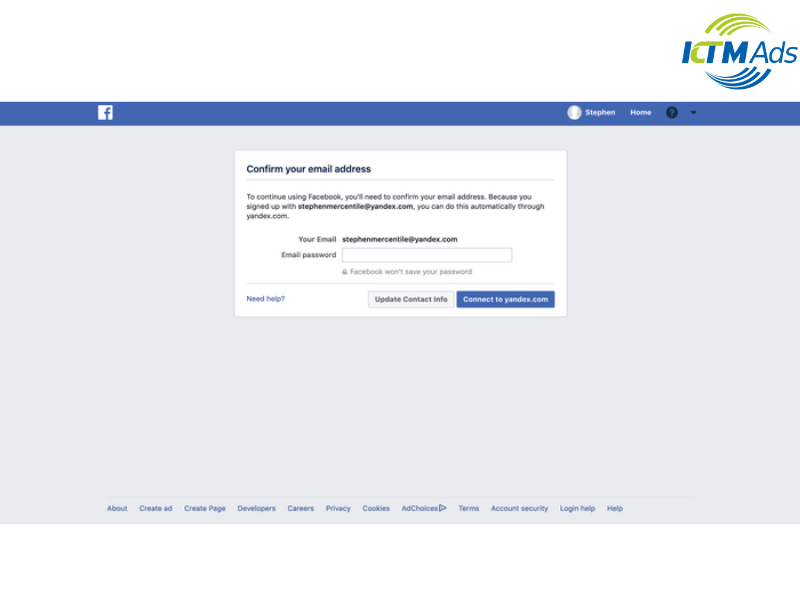
This is an important step to prevent others from accessing the account. If the VIA uses an email like Gmail or Outlook, make sure to change the email password immediately after changing the Facebook password.
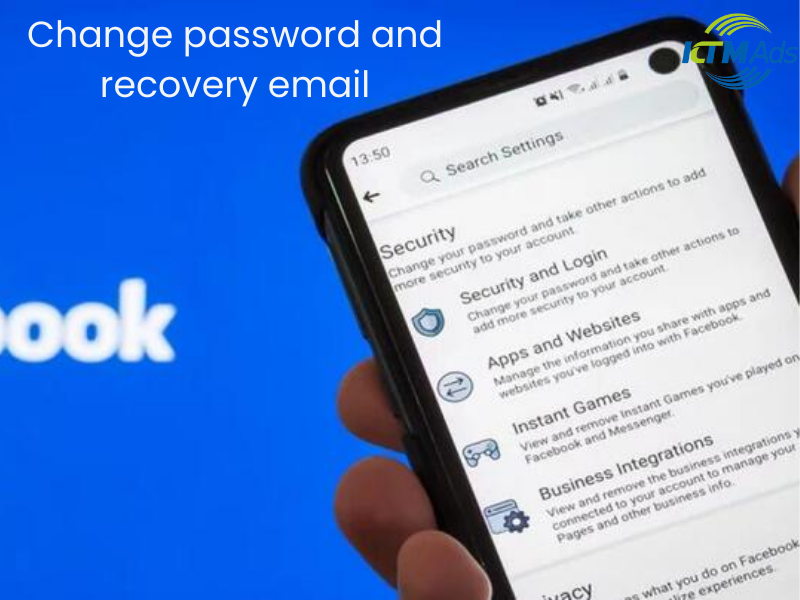
Next, go to the security settings of the email, and remove all old devices that have logged in to avoid the risk of being accessed again.
Additionally, if the VIA email has a recovery email, change it to a new one. You can use temporary email services like Getnada as a replacement.
Finally, if there are any old emails related to the account, delete them to ensure no one can trace the information.
Before setting up a new one, you need to disable the old two-factor authentication (2FA). Then, visit m.fb.com to set up a new 2FA. Note that if you enable the new 2FA without disabling the old one first, the old 2FA may still be active, creating a security risk.
Go to m.facebook.com and update the date of birth and gender. Changing this personal information helps reduce the risk of encountering a Facebook checkpoint when logging in on a new device.
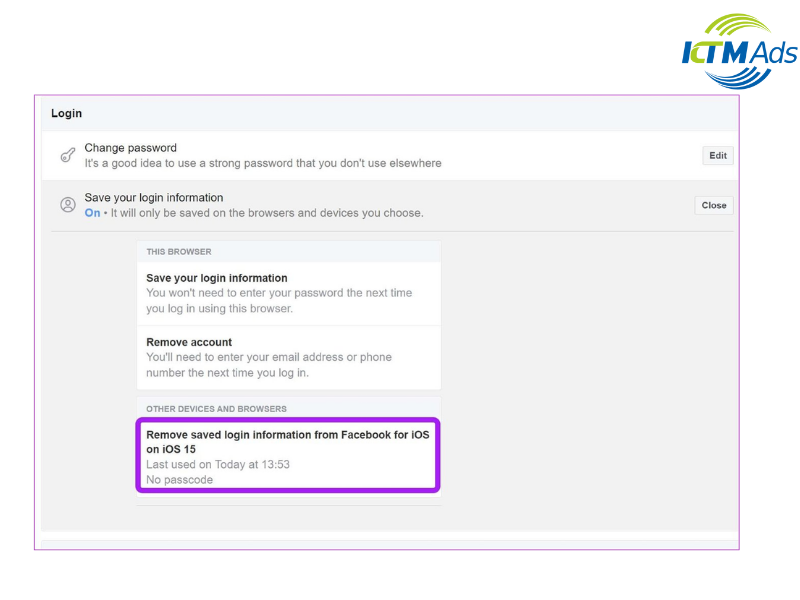
To ensure the VIA is completely secure, change the Facebook password by visiting this link: https://www.facebook.com/privacy/review/?review_id=573933453011661
After changing the password, log out from all old devices to invalidate the old cookies.
Go to Facebook’s security settings and remove all old devices that have previously logged into the account. Then, log in again on the new device and save the login information to avoid encountering a checkpoint when using it.
Common errors when logging into VIA
When logging into VIA Facebook, you may encounter various errors that can lead to account suspension, checkpoint, or inability to access the account. Below is a summary of common errors and how to identify them for quick resolution.
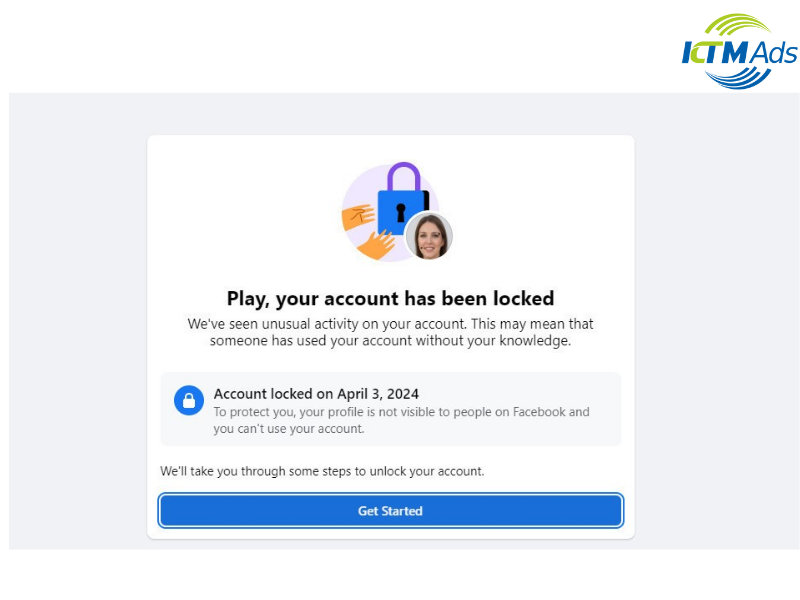
Account locked as checkpoint
Checkpoint is a security measure by Facebook to verify the user’s identity. When you encounter this error, you will be blocked from logging in and will need to complete the verification steps as required by Facebook.
How to identify an account locked with a checkpoint:
- Visit the Facebook checkpoint URL. If the URL ends with 956, 282, or similar numbers, it’s an indication that the account has been locked in different ways.
- Each type of checkpoint has a different unlocking method, so it’s important to identify the correct one to apply the appropriate solution.
How to unlock checkpoint 956
Checkpoint 956 is a common error that occurs when Facebook detects unusual activity on an account.
Step 1: Use a Fake IP software to change your IP address to Italy, India, or Thailand. It’s preferred to use an Italian IP. Let the IP sit for about 15-20 minutes before proceeding.
Step 2: Open Chrome and use the User-Agent Switcher extension to change the browser to Opera or Safari.
Step 3: Proceed with the unlock by logging into the VIA account that has checkpoint 956 on Facebook.
Step 4: Prepare your ID card with information that matches the VIA account for identity verification. Click the “Start” button and upload images of both sides of your ID card to the system for verification.
Step 5: Wait for Facebook to process the request, which can take from a few minutes to several hours. In some cases, verification may require a code sent to your email or phone number linked to the account.
How to unlock checkpoint 282
Checkpoint 282 is also a common type of Facebook account lock.
Step 1: Log in to the Facebook account to confirm the account’s locked status.
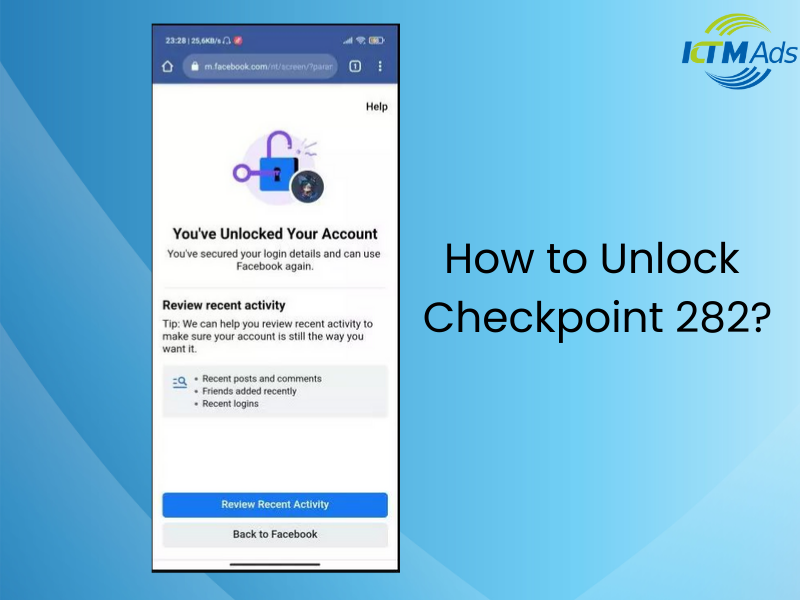
Step 2: File an appeal with Facebook through this link: https://m.facebook.com/help/contact/357439354283890
Enter the appeal content in the description: “Hello Facebook team, I am unable to log into my account due to a security issue. Please review and assist in unlocking my account. Thank you.”
Step 3: Take a clear portrait photo and upload it to the file upload section for identity verification.
Step 4: Next, visit this link: https://m.facebook.com/help/contact/179049432194862
Repeat the appeal content from Step 2 and continue uploading the identity verification photo.
Step 5: Wait for Facebook’s response, usually via email within 72 hours. If the account is valid, it will be unlocked.
KTM Ads will help you optimize the effectiveness of your Facebook Messenger ads. Contact our hotline right away if you need assistance with running ads, including setting up fb ads account!
See more related articles about Facebook Ads written by KTM:
How to Set Up a Successful Campaign